Open the Deployment Manager.
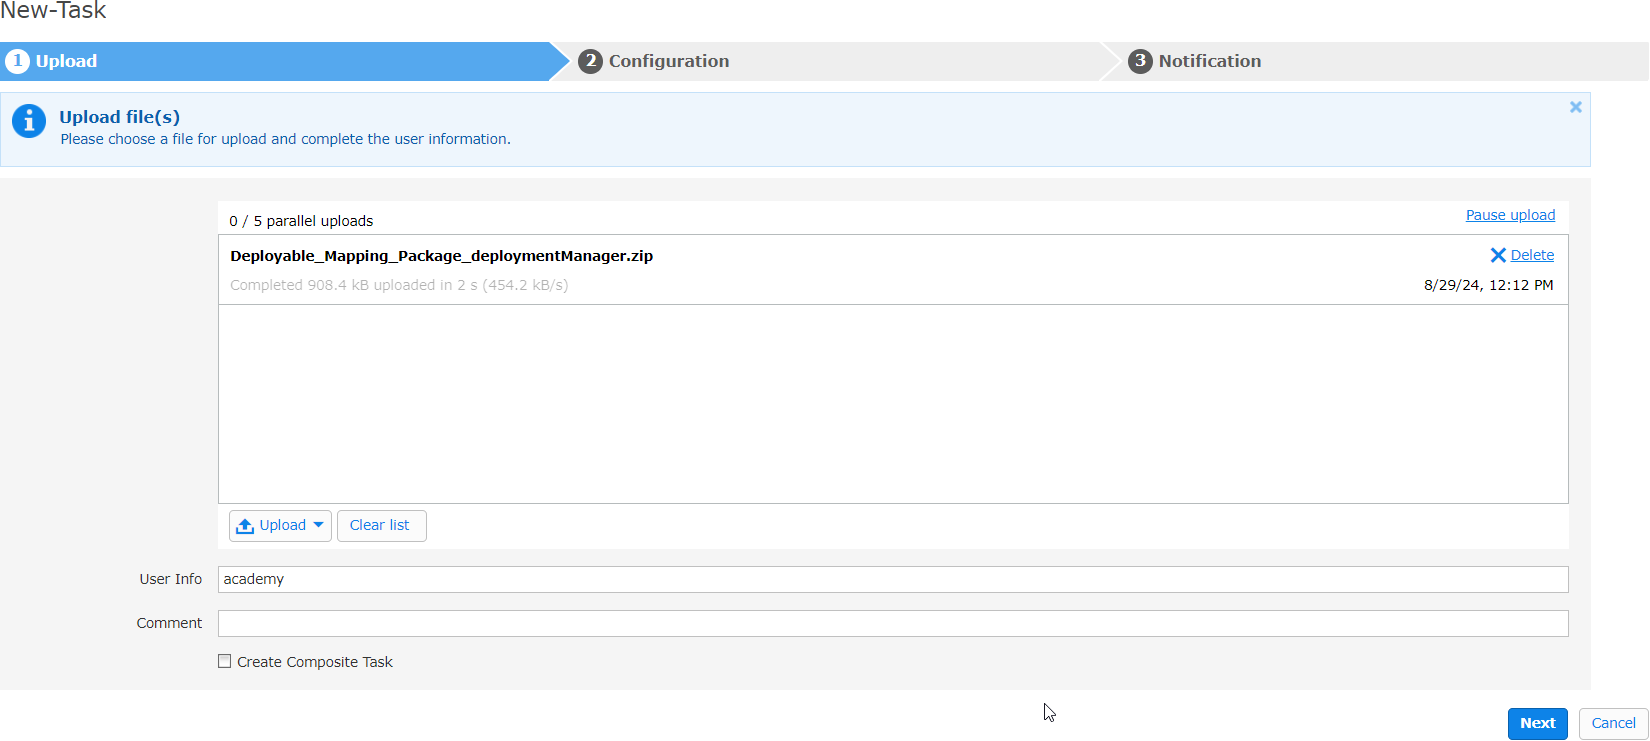
In the All Tasks menu item, click New Task(s) to upload the desired file(s). For instance, a partner mapping package can be uploaded.
-
Click Upload to choose at least one file or folder.
Information: A deployment.zip is a regular zip file that works as a container for a set of deployment objects (files) like: Mappings, messages, jasper report files, beanshell scripts, process definitions etc. A deployment zip file has a predefined structure and has to contain a manifest file (content.xml) for the metadata of deployment objects. Usually, a deployment zip contains a set of resources that belong together. All resources of a deployment zip are handled/deployed at once to ensure server-side consistency.A deployment zip must be self-contained. This means that it has to contain all required resources for a consistent/stable operation after deployment. Such deployment zip files can be created by different tools, e.g., Mapping Designer for mappings, Process Designer for processes, Maven Plugins, etc.
Click Next.
-
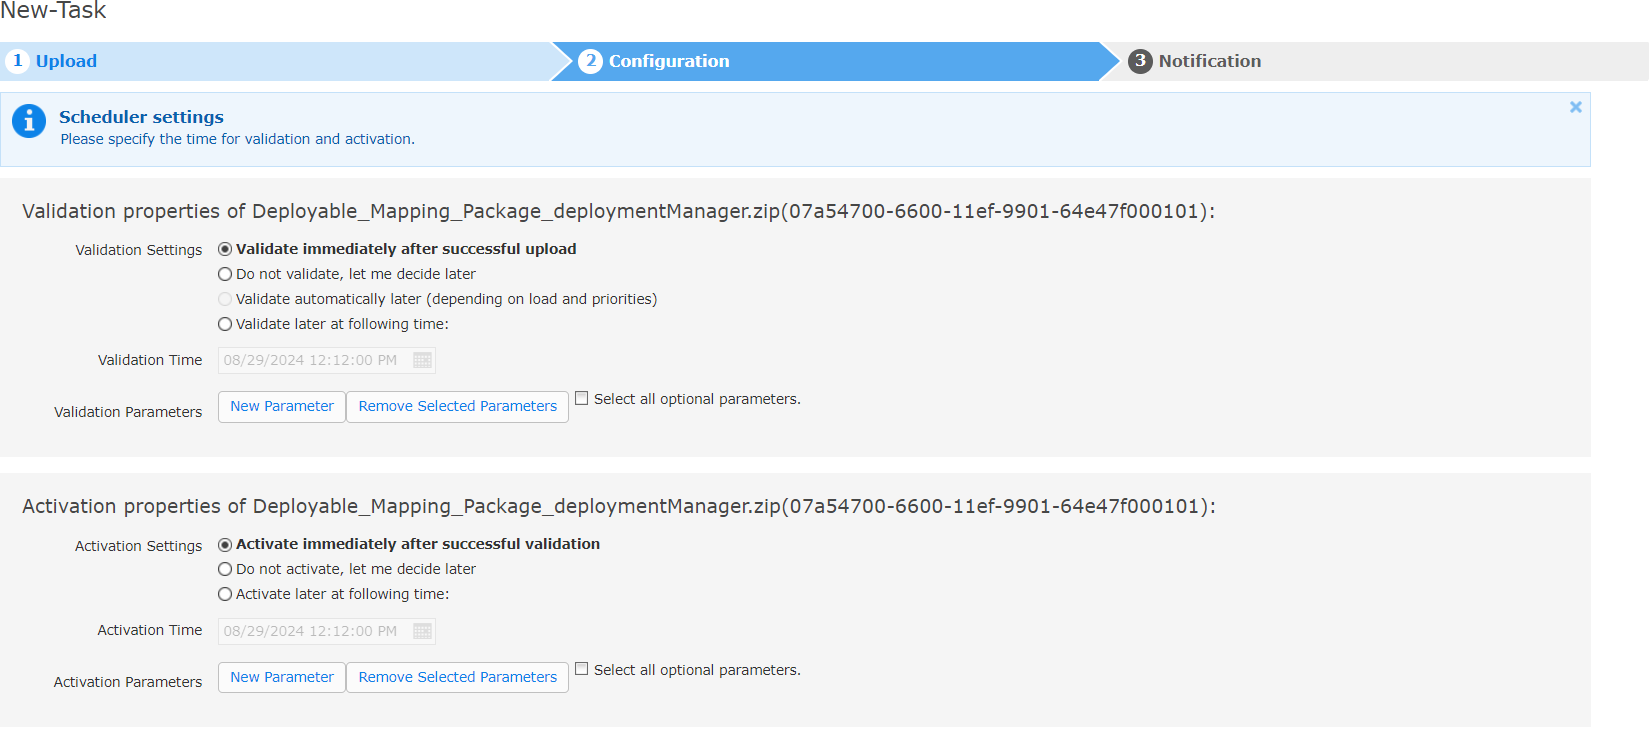
Select the validation and activation properties.
Note: Choose how the file should be validated and activated. The default options Validate immediately after successful upload and Activate immediately after successful validation initiate the deployment process in the background as soon as you click Next. Alternatively, you can upload and validate files without immediate activation. This is useful for preparing resources ahead of a scheduled go-live
Click Next.
Select the notification settings.
Click Finish.


