|
Note: This is a detailed description of this step, which is displayed when you create or duplicate an automation. You can find the main instructions here: |
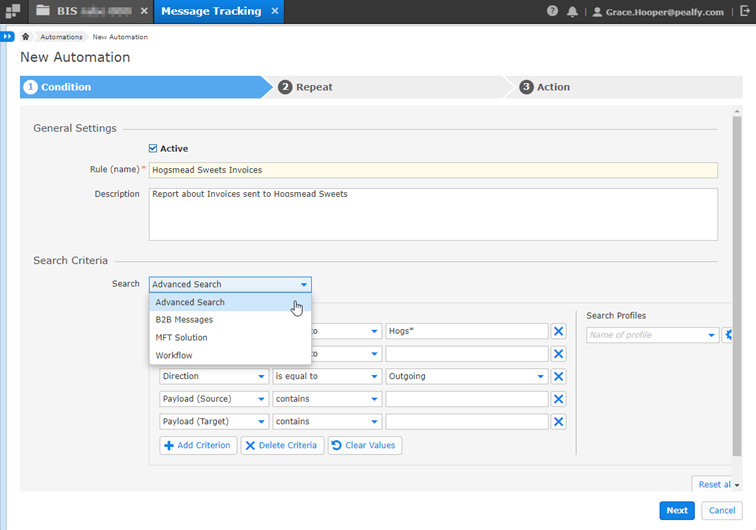
In this first step, you can define the conditions and criteria for a specific automation.
In the section General Settings, set up the following data:
Active: By default, the checkbox is checked, which means that an email will be sent and the automation will run when the timestamp exceeds. If you uncheck the checkbox, an email will not be sent, and the next run timestamp will not be calculated for the automation.
Rule (name) is required. Enter a name here. The value does not have to be unique; it can be reused. You cannot use more than 255 characters.
Description is optional, but it is a best practice to give a description to an automation to ensure that it is clear what purpose it fulfils. The number of characters is limited to 2000.
In the section Search Criteria, set up the following data:
|
Note: It is absolutely necessary, to select a search profile in the drop-down Search. If your drop-down list is empty, please find more information here: > Why is it not possible to select a search profile when creating a new automation? |
Select the search profile that should be used for the automation in the drop-down Search. After selecting a search profile, you can set the search conditions. The standard search criteria for the profile are shown. You can load your saved search profiles or adapt the search conditions to your needs.