You can individualize tables by displaying additional columns and hiding columns that are not needed.
To add or hide columns, follow these steps:
To view the Column Settings for a table, click  in the upper right corner of the column title row.
-
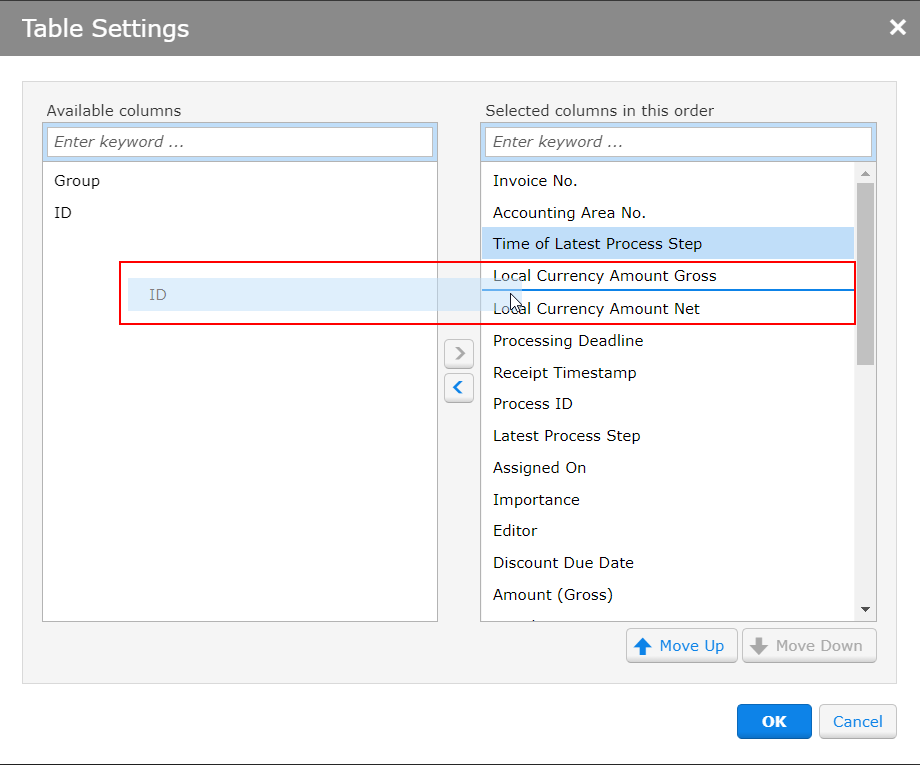
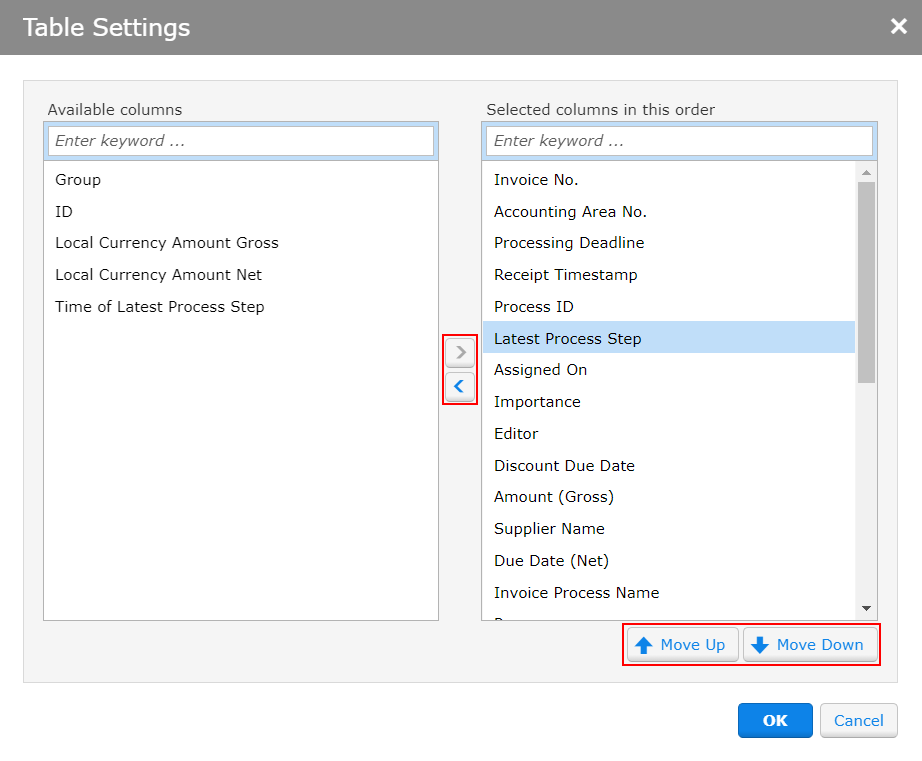
You have the following options to configure in the Column Settings which of the available columns you want to display:
-
Drag and drop the columns with the mouse to add or remove them and put them in the desired order. To do this, click the desired column with the left mouse button and keep the mouse button pressed while moving the column.
-
Click the arrow buttons to add or remove columns and use the Move Up and Move Down buttons to set the order of the columns.
Click OK.
The columns you selected will be saved automatically.


