Add-on Profile Designer

Creating new menu layouts

Creating new menu layouts

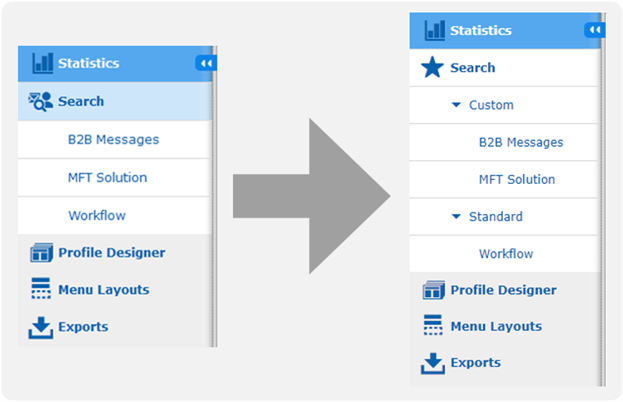
The function Menu Layouts allows you to customize the menu structure within search profiles to suit your needs. Search profiles can be grouped here, for example you can turn an unstructured menu group into a structured one. Individual icons can also be used.

Example:

To create a new menu layout, follow these steps:

  1. Open the app Message Tracking.

  2. Open the menu item Menu Layouts.

  3. Click the button New on top of the page.

  4. In the field Name, enter a unique name for your layout.

    Information: If the menu layout name is not unique, an error message will appear upon saving.
  5. In the field Owner, select an owner.

    Information: Only one Menu Layout can be active per owner and logical system. Once content has been added to the layout the owner cannot be changed.
  6. Click the checkbox Active to activate the menu layout.

    Information: If the checkbox is checked, the default menu layout is displayed for the selected application during the start of the application.
  7. Check that the option Profiles is selected in the dropdown.

    Information: If Profiles is selected, you will see the available profiles in the column Available.
  8. Add one or more of the profiles to your layout.

    • Select the desired profile(s) in the column Available.
    • Click on the arrow key pointing to the left to add them to your Layout.
  9. Remove one or more of the profiles from your layout.

    • Select the profile(s) you want to remove in the column Layout.
    • Click on the arrow key pointing to the right to remove them from your layout.
  10. In the column Layout, drag and drop the profiles to change the order.

  11. Change the name of a profile and add several translations.
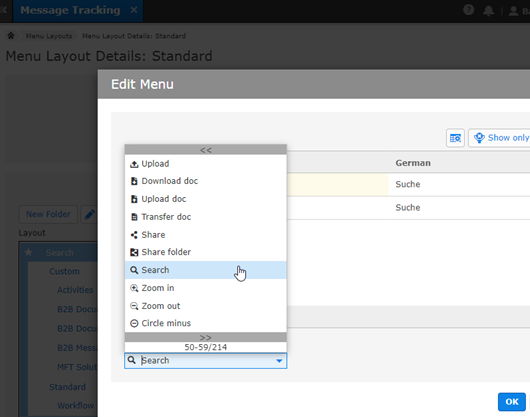
    • Select a profile in the section Layout.
    • Click the pencil symbol.
    • Enter a name for each language.
    • Select an icon in the drop-down for the profile.
    • Click OK.
  12. Create sub menus.

    Information: A folder represents a sub menu (see Custom and Standard in the example above).
    • Click the button New Folder above the section Layout.
    • Enter a name for the sub menu for each language.
    • Select an icon in the drop-down for the sub menu.
    • Click OK.
    • To organize profiles below a sub menu, select profiles in the section Layout and drag and drop them on the sub menu name.
  13. Click Save.

Note: Users must log in again to see the changes in the menu layout.