Information: Administrators automatically have all additional permissions. |
|
Information: Additional permissions can also be assigned to new users during the invitation process. |
To assign additional permissions to users, an administrator can use two menu items in the app Administration:
User Management > Users
User Management > Service Access
Note: The way of assigning additional permissions described here is particularly suitable for assigning an additional permission to individual users. |
To assign additional permissions to individual users, follow these steps:
Open the app Administration.
Open the menu item User Management > Users.
Select a user from the list with a double-click.
Open the tab Additional Permissions.
Select a permission from the list.
Use the arrows to assign the permission(s) to the user.
Click Save.
Note: The way of assigning additional permissions described here is particularly suitable for assigning an additional permission to multiple users at the same time. |
To assign a permission to multiple users, follow these steps:
Open the app Administration.
Open the menu item User Managemenet > Service Access.
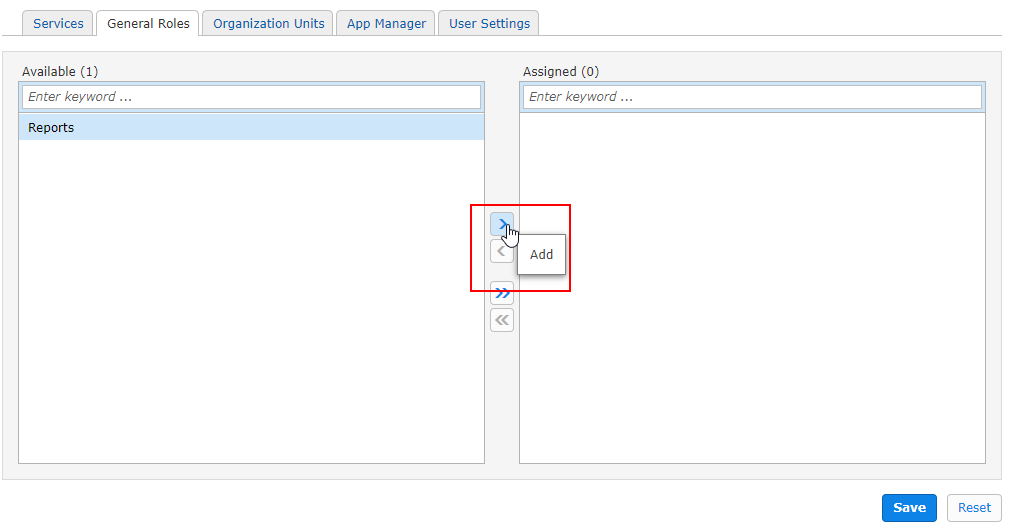
Open the tab Additional Permissions.
Select a permission from the list.
Click Users.
Use the arrows to assign the permission to the user(s).
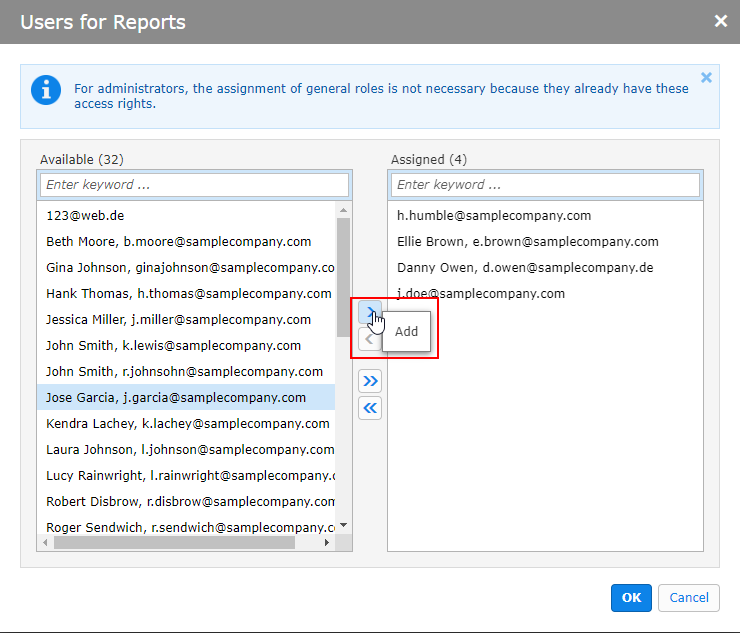
Click OK.


