Note: To get a user account and join a company account in the SEEBURGERCustomer Portal, users can either be invited by the administrator or app manager or register by themselves and thus request to join the company account. |
When users register in the SEEBURGERCustomer Portal by themselves and enter the name of an existing company account, the administrator of the company account receives a joining request via email and via system notification. To manage the joining request, the administrator or app manager can confirm or reject the new user account.
Open the app Administration.
Open the menu item User Management > Users.
Select the corresponding user with the status Waiting for confirmation from the list.
Click Account > Confirm.
Note: The following step Add Domain will be displayed only if the domain(s) of the user(s) to be confirmed are not yet registered as domain(s) for your company. |
Information: If activated by the administrator, requests from an already registered domain can be confirmed automatically. |
In the step Add Domain, add one or more domains to the domains registered for your company.
If needed, select the services you want to assign to the user.
Click Next to move to the next step Assign Org. Units.
Click Next to move to the next step Assign General Roles.
Click Finish.
To reject a user account as administrator, follow these steps:
Open the app Administration.
Open the menu item User Management > Users.
Select the corresponding user with the status Waiting for confirmation from the list.
Click Account > Reject.
If necessary, specify the Reason for Rejection.
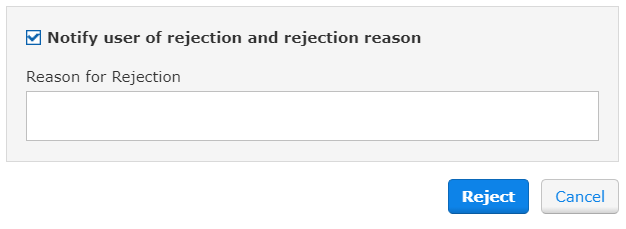
Click Reject.
Find more information here:


