Note: To get a user account and join a company account in the SEEBURGERCustomer Portal, users can either be invited by the administrator or app manager or register by themselves and thus request to join the company account. |
|
Information: The first user of a company who registers in the SEEBURGERCustomer Portal automatically becomes the administrator of the company account and can invite further users. App managers can also invite users, but to a limited extent. |
There are different ways to invite users to the SEEBURGER Customer Portal. You can get an overview of all options here:
> Inviting users to the SEEBURGER Customer Portal
|
Note: If you want to invite a user whose email domain has not yet been added for your company, you need to add this domain before inviting them. The linked instruction will also help you to find out which domains have already been added. |
To invite new users to the SEEBURGER Customer Portal via direct CSV import, follow these steps:
Open the app Administration.
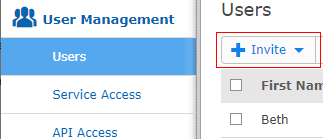
Open the menu item User Management > Users.
Click Invite.
Select via direct CSV import.
In the section CSV Upload click Download CSV Template to get a correctly formatted file template.
Open the CSV template and enter the personal data of the users into the columns.
|
Note: You can assign services, organizational units and additional permissions also after inviting users.You do not need to assign them simultaneously with the invitation. > Assigning services and access rights to users |
Save the completed CSV file.
Return to the invitation screen in the app.
In the section CSV Upload click Upload and upload the completed CSV file.
Click Import.
Find more information here:


